Few natural spectacles rival the aurora borealis, yet city glow can wash out even the most active displays. Light pollution scatters artificial light across the sky, raising the background brightness and masking the faint, shifting curtains of green and violet that make the Northern Lights so extraordinary. The good news is that with a little preparation, you can place yourself in conditions where the aurora fills the sky undimmed. This guide walks you through every practical step, from choosing your location to protecting your night vision, so you arrive ready rather than improvising in the dark.
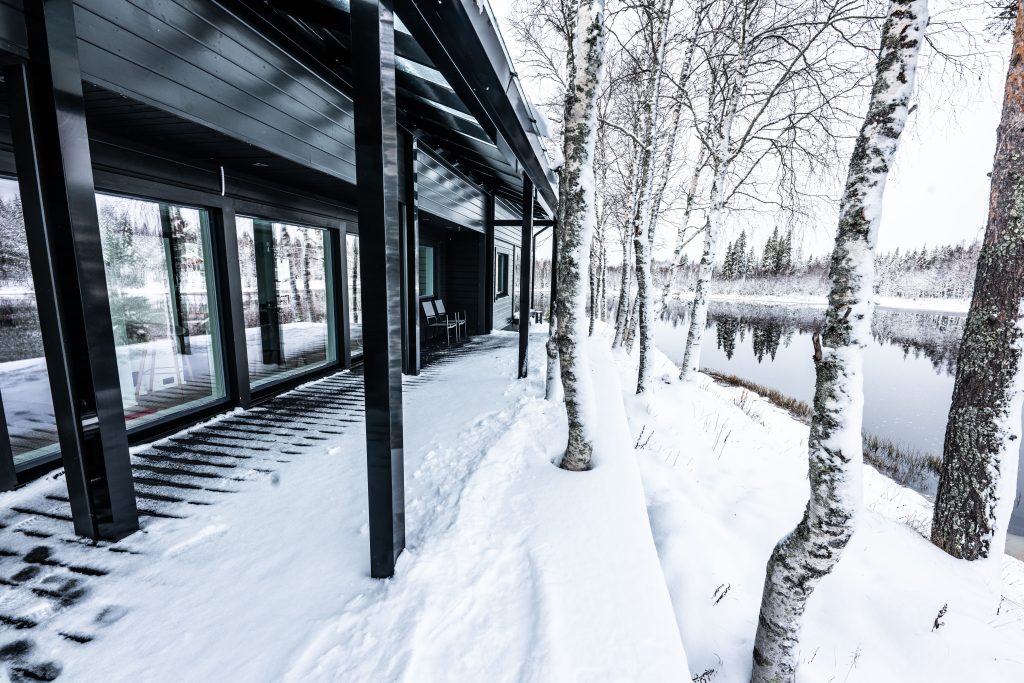
If you are planning a dedicated aurora trip to Lapland in 2026, the wilderness around Ranua offers some of the darkest skies in Finland, well away from the urban glow of larger towns. Villa Wikkelä sits in a secluded area with no neighboring properties, making it a natural base for everything described in this guide. Keep that option in mind as you read through the steps below.
What You Need Before Heading Out to See the Aurora
Preparation separates a successful aurora night from a frustrating one. Before you leave your accommodation, gather everything you need so that you are not forced to cut the evening short because of a preventable oversight.
- Aurora forecast app or website – check the KP index (aim for KP 3 or higher for mid-latitude Lapland), cloud cover maps, and local weather forecasts
- Warm, layered clothing – thermal base layer, insulating mid-layer, and a windproof outer shell; temperatures in Lapland can drop well below -20°C on clear winter nights
- Insulated boots and gloves – cold feet and hands end a session faster than cloud cover
- Headlamp with a red-light setting – red light preserves night vision while allowing you to move safely
- Fully charged camera battery (plus a spare) – cold drains batteries rapidly; keep the spare inside a jacket pocket close to your body
- Tripod – essential for the long exposures required in low-light conditions
- Thermos with a hot drink – staying warm keeps you alert and extends your time outside
Check your forecast no more than two to three hours before heading out, since KP index predictions and cloud cover data update frequently. A forecast that looked poor in the afternoon can shift significantly by evening. Once you have confirmed a reasonable chance of activity and clear skies, move on to selecting your specific location.
Find Dark Sky Locations Away from Artificial Light
The single most important variable in aurora viewing is sky darkness. Even a modest town produces enough scattered light to reduce contrast dramatically, turning vivid green arcs into a barely perceptible haze. Your goal is to put as much distance as possible between yourself and any artificial light source, particularly in the direction of the sky you intend to watch.
Use a light pollution map before your trip to identify genuinely dark zones near your base. In the Rovaniemi area, moving even 20 to 30 kilometers away from the city center makes a measurable difference. The wilderness around Ranua, roughly an hour’s drive from Rovaniemi Airport, sits within one of Finland’s darker corridors, with minimal industrial or urban development to the north and east.
- Open a light pollution map and locate your accommodation. Look for areas shaded dark grey or black on the Bortle scale, avoiding zones shaded orange or red.
- Identify two or three candidate spots within a 30-minute drive, prioritizing open terrain such as frozen lakes, forest clearings, or elevated ridgelines that offer a wide, unobstructed horizon.
- Check satellite imagery or local trail maps to confirm vehicle access and parking, so you are not navigating unfamiliar terrain in complete darkness.
- Note the direction of any distant town lights and plan to face away from them, ideally toward the north or northeast where aurora activity most commonly appears in Lapland.
After completing this step, you should have a primary location and at least one backup in case your first choice is clouded over or unexpectedly lit by other visitors. Having alternatives ready allows you to drive to a clearer spot quickly rather than waiting and losing valuable dark hours.
Time Your Aurora Hunt for Peak Darkness and Activity
Timing matters as much as location. The aurora can appear at any hour of the night, but two factors determine when your chances are highest: the depth of astronomical darkness and the natural rhythm of geomagnetic activity.
In Lapland during the prime season from late September through March, astronomical twilight ends well before 21:00, giving you many hours of genuine darkness. Statistically, aurora displays tend to intensify around local midnight, when your position on Earth faces most directly toward the solar wind stream driving the aurora. Plan to be at your chosen dark sky location by 21:00 at the latest, and commit to staying until at least 01:00 to cover the most active window.
- Set an alert on your aurora app for KP index changes. A sudden rise of one or two points during the evening often signals an incoming substorm, which can produce the most dramatic displays.
- Avoid checking your phone screen constantly. Each full-screen brightness exposure resets your night adaptation. Instead, glance at a wrist-worn device or use the lowest screen brightness setting.
- If the sky is clear but the aurora is quiet, remain patient and stay put. Rapid substorms can ignite within minutes and last anywhere from 10 to 45 minutes before fading.
After settling into your timing window, you will notice that patience becomes part of the experience. The most memorable aurora nights often begin quietly, with a faint glow on the northern horizon, before erupting into full overhead curtains. Staying committed to your window is what separates those who witness that moment from those who return to their accommodation an hour too early.
For guests who prefer guided support during the hunt, Northern Lights Hunting with Arctic Dreams House takes the guesswork out of timing and location, with experienced local guides monitoring conditions in real time and driving you to the optimal spot for the night.
Set Up Your Position to Maximize the Viewing Angle
Once you arrive at your dark sky location, the way you position yourself on the ground determines how much of the sky you can monitor and how quickly you can react when the aurora moves. A poor position can mean watching the display through tree canopy or missing an overhead burst because you were facing the wrong direction.
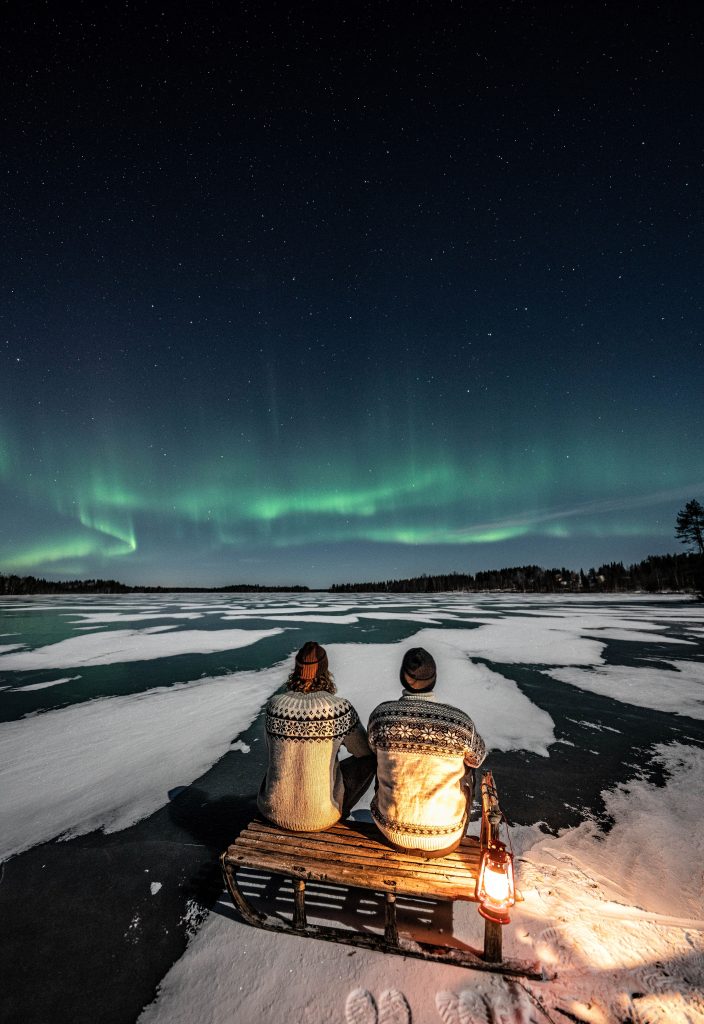
Walk the area briefly before settling. Look for a spot that gives you an unobstructed 180-degree view from the northeast to the northwest, as aurora activity in Lapland typically begins as a low arc on the northern horizon before expanding upward. A frozen lake surface, a hilltop clearing, or an open field all work well. Avoid positioning yourself with a bright snow-covered slope directly behind you, as reflected ambient light can reduce your effective dark adaptation.
- Face north and identify any obstacles such as treelines, buildings, or hills that block your low-horizon view. Move until the northern horizon is as open as possible.
- Set up your tripod at least five meters away from your vehicle to avoid any residual headlight spill or exhaust steam interfering with your camera shots.
- Orient your camera northward as your default framing, but keep your eyes scanning the full overhead arc regularly, since strong displays can appear directly above without warning.
- Mark your position with a subtle landmark so you can return to the same spot quickly if you step away to warm up.
With your position established and your camera ready, you have done everything within your control to maximize the viewing angle. The next step is preparing your senses and equipment to actually capture what you see.
Adapt Your Eyes and Camera to Low-Light Conditions
Human eyes require roughly 20 to 30 minutes to reach full dark adaptation, during which the pupils dilate and the rod cells in the retina become far more sensitive to faint light. A single bright light exposure, including a phone screen at full brightness, resets this process. Protecting your night vision is therefore not optional but a core part of the technique.
Arrive at your location and switch off all white light sources immediately. Use your red-light headlamp only when you need to move or adjust equipment. Keep your phone face down or set to its lowest brightness and red-filter mode if available. After 25 to 30 minutes of uninterrupted darkness, you will be astonished by how much more structure and color you can detect in even a moderate aurora display.
Camera Settings for Aurora Photography
Aurora photography rewards those who prepare their camera settings before full darkness falls, rather than fumbling with menus while the lights dance overhead.
- Set your lens to its widest aperture, ideally f/2.8 or wider, to gather the maximum available light.
- Choose an ISO between 800 and 3200 depending on aurora brightness. Start at ISO 1600 and adjust based on your test shots.
- Set your shutter speed to between 5 and 15 seconds. Shorter exposures (5 to 8 seconds) preserve the movement and structure of an active aurora; longer exposures (10 to 15 seconds) suit faint displays.
- Focus manually on a distant star or bright point on the horizon, then lock the focus and leave it. Autofocus is unreliable in near-total darkness.
- Use a remote shutter release or the camera’s self-timer to avoid camera shake when pressing the shutter button.
After your first few test frames, review the histogram rather than the screen preview to judge exposure accurately. A well-exposed aurora image shows detail across the full tonal range without clipping the highlights in the brightest green or white areas of the display.
Stay Safe and Comfortable During Long Outdoor Waits
Aurora hunting in Lapland is not a passive activity. Waiting outdoors in sub-zero temperatures for two to four hours demands physical preparation, and cold-related fatigue can impair judgment faster than most people expect. Comfort and safety are not afterthoughts but essential parts of a successful night.
Layer intelligently rather than simply adding bulk. Your base layer should wick moisture away from the skin, your mid-layer should trap warm air, and your outer shell should block wind and precipitation. Keep moving periodically by walking short distances or doing light exercises to maintain circulation, particularly in your feet and fingers, which are the first to lose sensation in severe cold.
- Tell someone at your accommodation where you are going and when you expect to return. In remote wilderness areas, this is a basic but critical safety measure.
- Carry a fully charged phone and a portable power bank, since cold temperatures drain phone batteries quickly and communication access is essential in an emergency.
- Keep your vehicle keys accessible and the car parked facing the direction of exit, so you can leave quickly if conditions deteriorate.
- Warm up inside your vehicle for 10 minutes every hour if temperatures are extreme. Re-adapting your eyes takes only a few minutes after returning to the dark, and a warm break dramatically extends how long you can sustain the session.
- Eat a warm, calorie-dense meal before heading out. Your body burns significantly more energy maintaining core temperature in the cold.
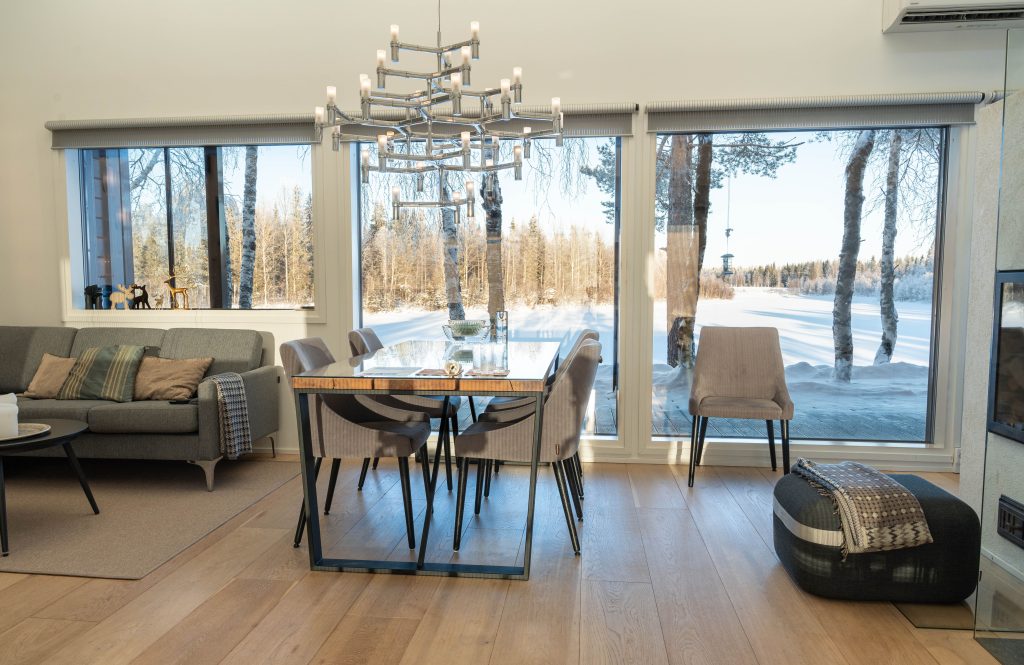
Guests staying at Villa Wikkelä have a particular advantage here. The villa’s outdoor hot tub provides an extraordinary way to warm up between aurora watches, and the panoramic windows of the living room allow you to monitor the northern sky from inside before committing to another session outdoors. After a long, rewarding night under the Arctic sky, the villa’s sauna and fireplace make the return to warmth feel like a natural conclusion to the experience.
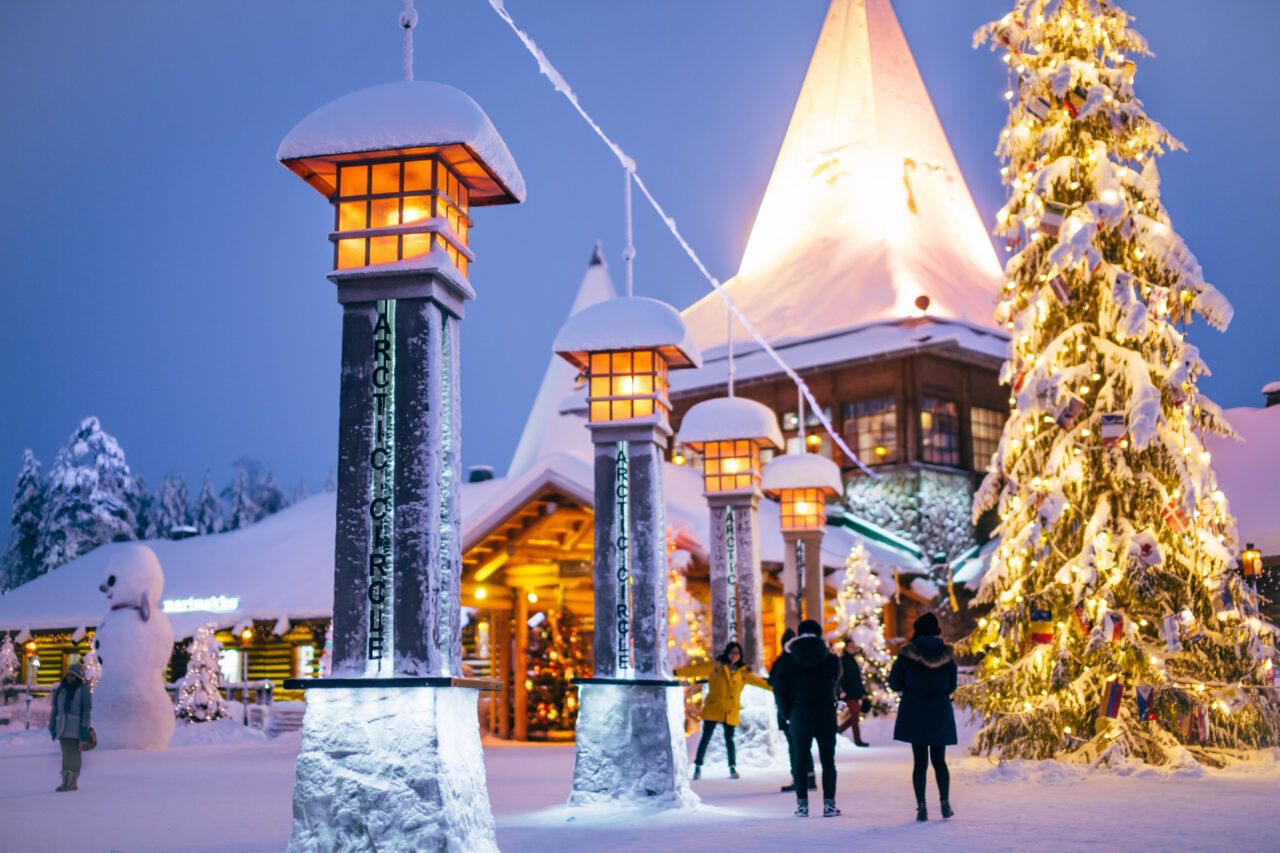
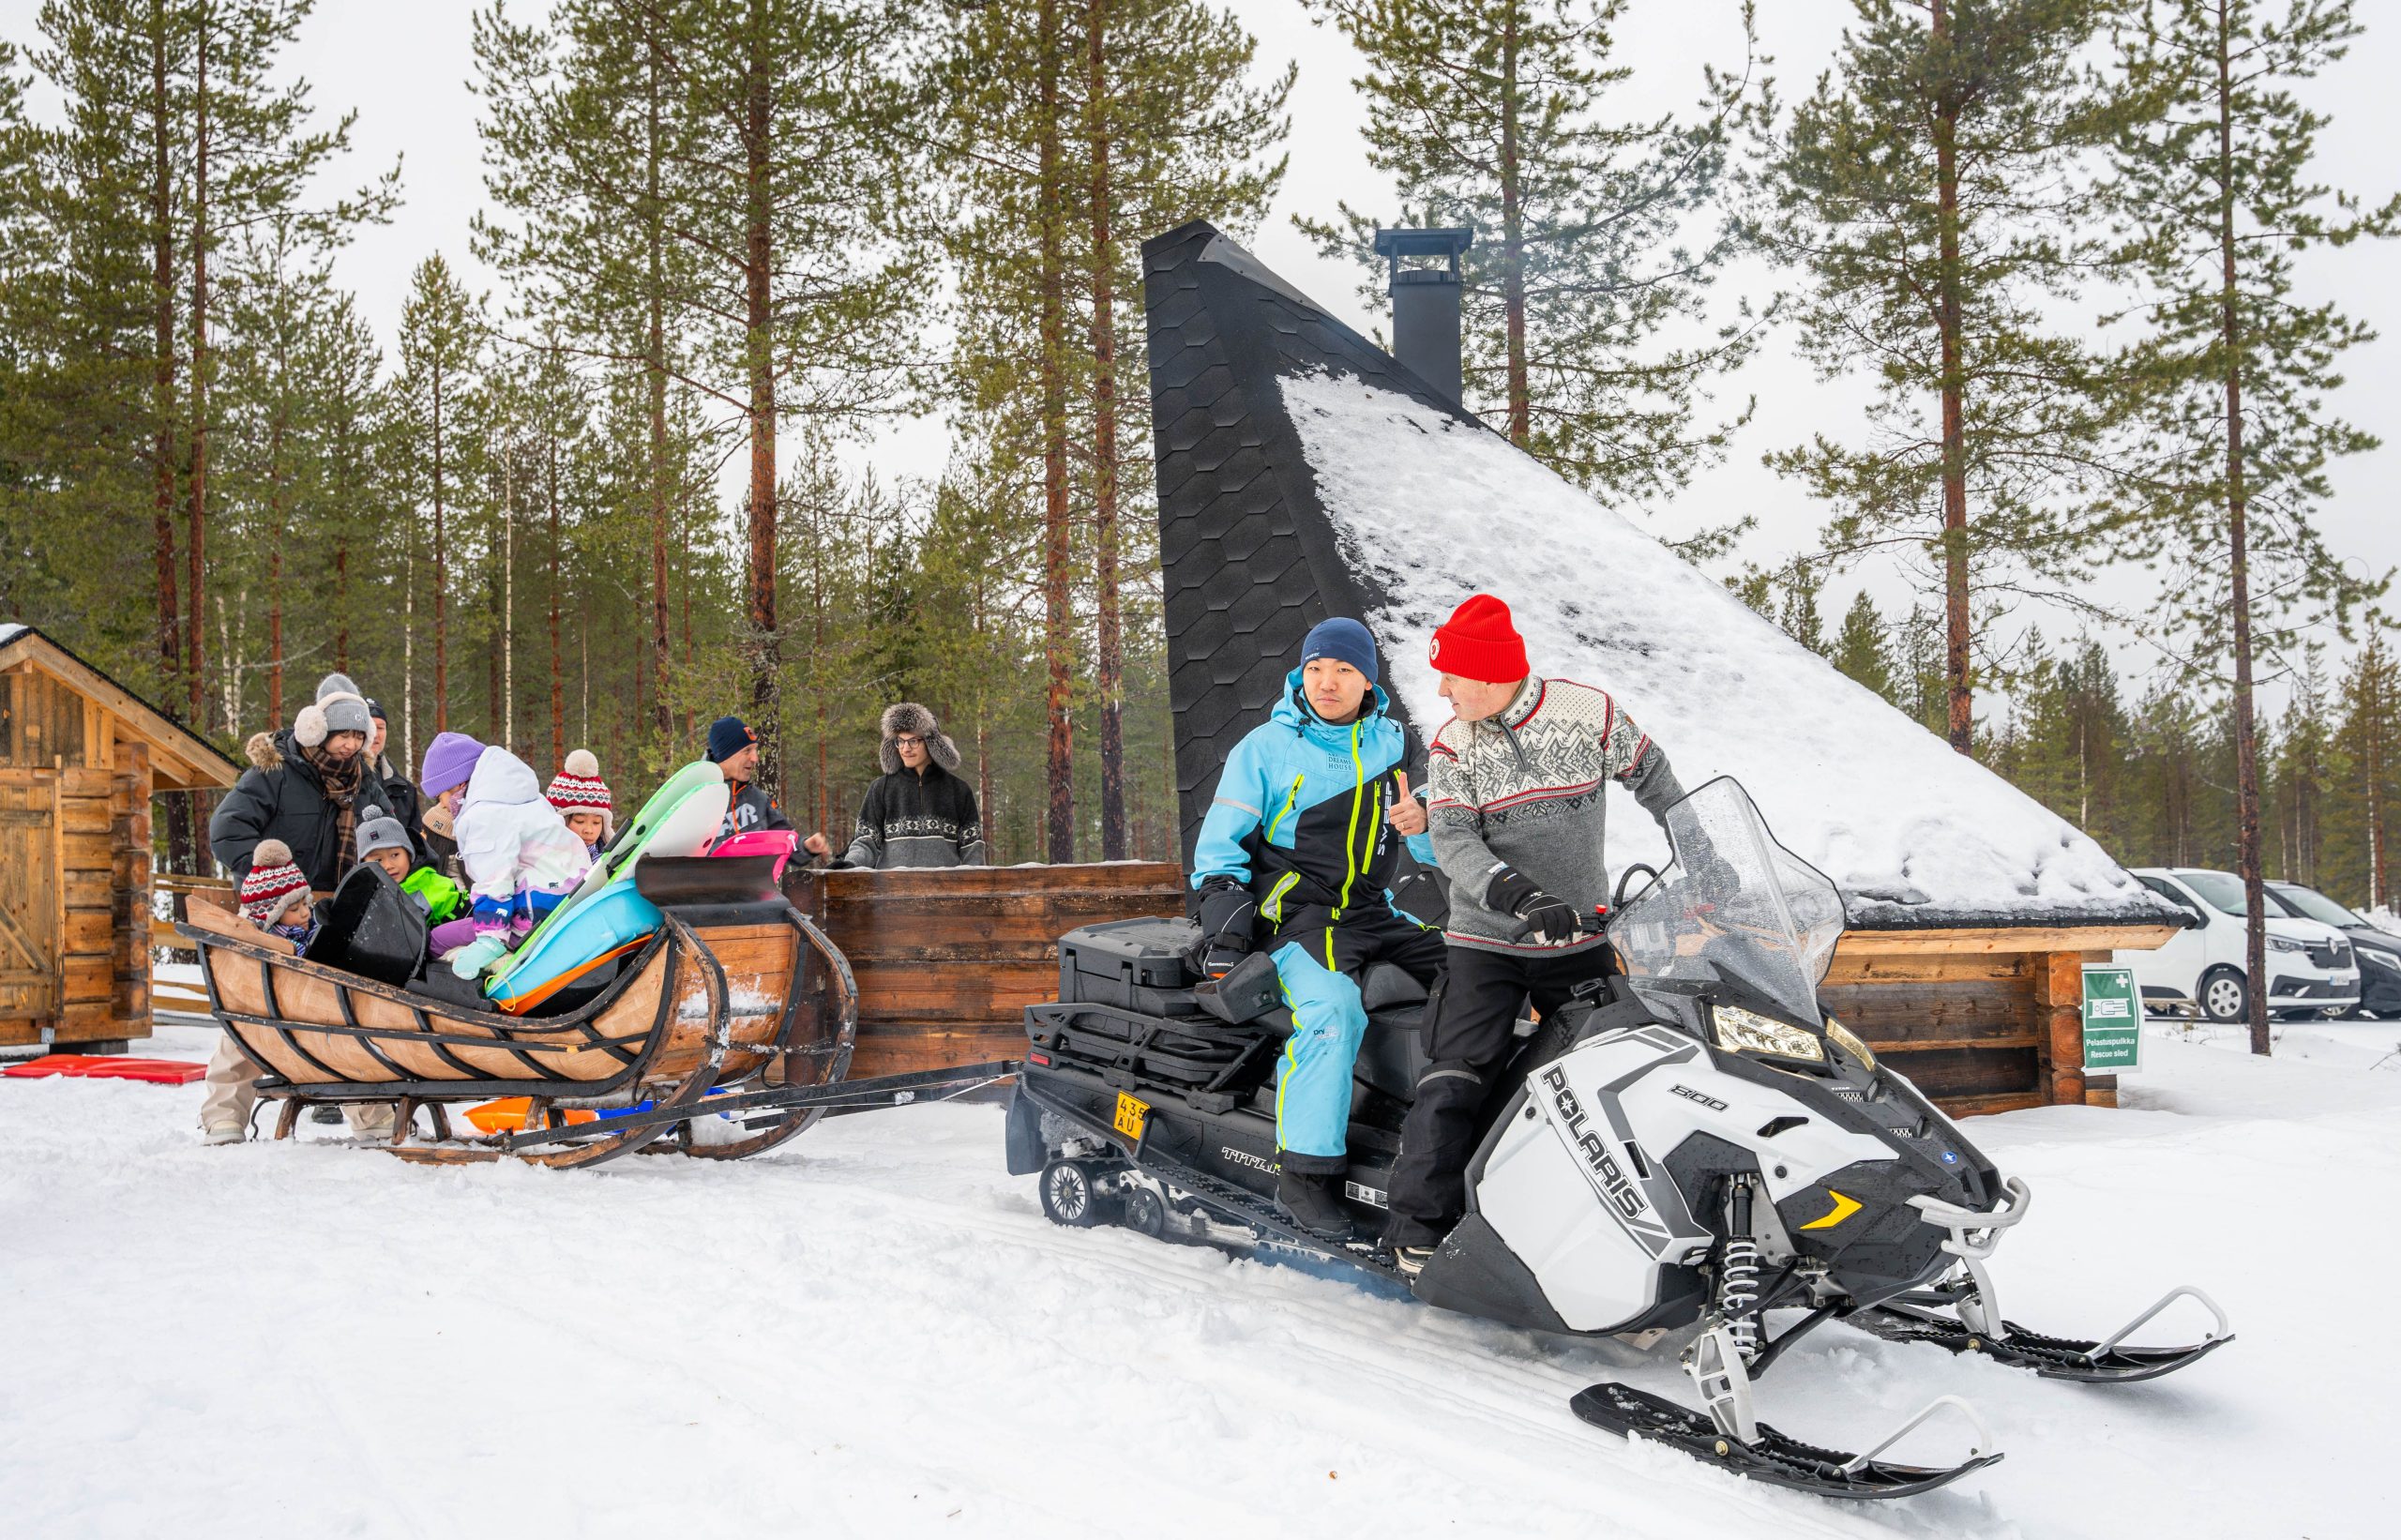
For those who want expert guidance alongside these personal preparations, the Northern Lights Hunting experience offered by Arctic Dreams House combines local knowledge, real-time forecasting, and private transport to the best available spot on any given night. Beyond the aurora, the team can also arrange a full range of winter activities including snowshoeing, husky safaris, and traditional sauna experiences, as well as a completely private meeting with Santa Claus through Private Santa in Ranua, a deeply memorable addition to any Lapland itinerary. When you are ready to plan your stay, explore Villa Wikkelä and discover what it means to experience the Northern Lights from a genuinely secluded, bespoke base in the heart of Finnish Lapland.